Introduction
This article describes the process of creating a simple shipping method. In our module, we will create a new shipping carrier – My Processor – that will have one shipping method – My Shipping Method – that has a flat rate of $10.
Implementation
We start off by creating an empty module with the developer ID XCExample and the module ID ShippingDemo.
Shipping processor class
We create a main file of our shipping processor as classes/XLite/Module/XCExample/ShippingDemo/Model/Shipping/Processor/MyProcessor.php:
<?php

namespace XLite\Module\XCExample\ShippingDemo\Model\Shipping\Processor;

class MyProcessor extends \XLite\Model\Shipping\Processor\AProcessor
{
    /**
     * Returns processor Id
     *
     * @return string
     */
    public function getProcessorId()
    {
        return 'MyProcessor';
    }

    /**
     * Returns processor name
     *
     * @return string
     */
    public function getProcessorName()
    {
        return 'My Processor (header for settings)';
    }

    /**
     * $data is an object of \XLite\Logic\Order\Modifier\Shipping
     */
    public function getRates($data, $ignoreCache = false)
    {
        $rates = array();

        $rate = new \XLite\Model\Shipping\Rate();
        $rate->setMethod($this->getShippingMethod());
        $rate->setBaseRate(10.00);

        $rates[] = $rate;

        return $rates;
    }

    protected function getShippingMethod()
    {
        return \XLite\Core\Database::getRepo('\XLite\Model\Shipping\Method')->findOneBy([
            'processor' => $this->getProcessorId(),
            'carrier'   => $this->getProcessorId()
        ]);
    }
}
This is the simplest implementation of shipping processor class. We extend the class \XLite\Model\Shipping\Processor\AProcessor as every shipping processor does. In our class, we must have getProcessorName(), getProcessorId() and getRates() methods.
getProcessorId()method returns 'MyProcessor'. 'MyProcessor' is an identifier of the carrier, no matter how many shipping methods it has;getProcessorName()method returns a name of the shipping carrier that will be displayed on carrier's settings page in admin area. In our case, it will look as follows: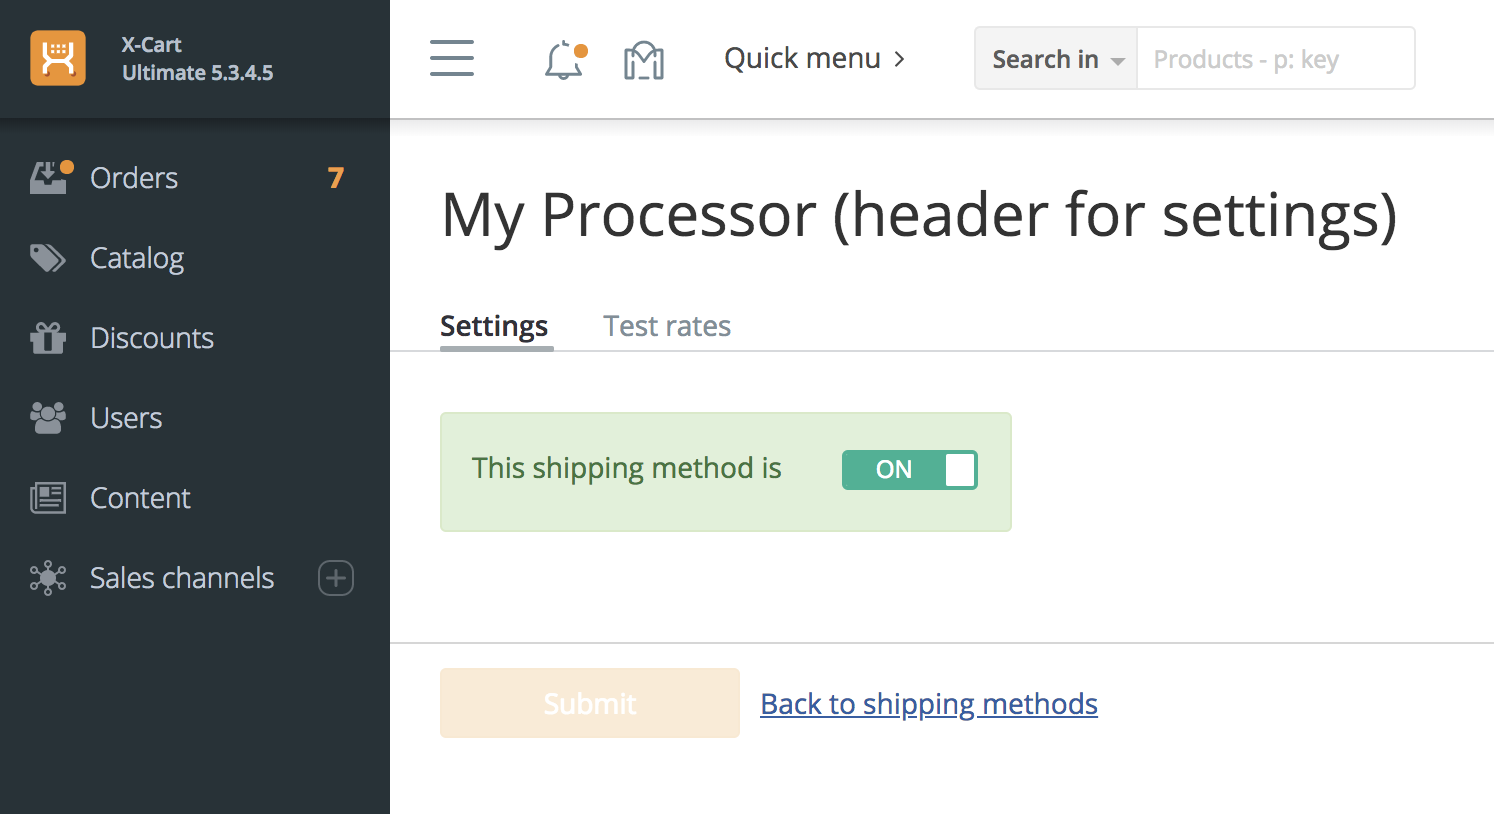
getRates()method is the most important one – this method returns an array of\XLite\Model\Shipping\Rateobjects, each of which represents a shipping option at checkout. Each shipping rate must have defined shipping method property (\XLite\Model\Shipping\Methodobject) and a rate value. In our module, we will have My Shipping Method shipping method (it will be created a bit later), and this shipping method can be accessed viagetShippingMethod()method in this class:protected function getShippingMethod()
{
return \XLite\Core\Database::getRepo('\XLite\Model\Shipping\Method')->findOneBy([
'processor' => $this->getProcessorId(),
'carrier' => $this->getProcessorId()
]);
}We create an empty shipping rate object as:
$rate = new \XLite\Model\Shipping\Rate();then, we assign a shipping method to it:
$rate->setMethod($this->getShippingMethod());and finally assign a shipping rate value to it:
$rate->setBaseRate(10.00);After that, we want to have this shipping rate object as an element of an array and return this array from the
getRates()method.$rates[] = $rate;
return $rates;
Of course, your getRates() method can be far more complex and return dynamically generated rates. Flat $10 rate is just for a demo. If you need to get info about current cart, you can access it by calling:
$data->getOrder()
inside getRates() method, where $data is first parameter passed into getRates(). Cycling through all order items would look like this:
foreach ($data->getOrder()->getItems() as $item) {
    echo $item->getWeight(); // getting item's weight
}
Creating shipping method
Shipping method is created via YAML file. We create classes/XLite/Module/XCExample/ShippingDemo/install.yaml file with the following content:
XLite\Model\Shipping\Method:
 - processor: MyProcessor
   carrier: ''
   code: ''
   enabled: false
   added: false
   position: 0
   moduleName: XCExample_ShippingDemo
   translations:
     - code: en
       name: "My Shipping Method (for admin)"
 - processor: MyProcessor
   carrier: MyProcessor
   code: 'MY_CODE'
   enabled: 1
   position: 0
   translations:
     - code: en
       name: "My Shipping Method (for customer)"

XLite\Model\Config:
  - name: user
    category: XCExample\ShippingDemo
    type: XLite\View\FormField\Input\Text
    orderby: 10
    translations:
      - code: en
        option_name: User ID
We add records to shipping methods repository about our shipping carrier (shipping carrier may have multiple shipping methods) and available shipping methods.
Shipping carrier is created by this piece of code:
 - processor: MyProcessor
   carrier: ''
   code: ''
   enabled: false
   added: false
   position: 0
   moduleName: XCExample_ShippingDemo
   translations:
     - code: en
       name: "My Shipping Method (for admin)"
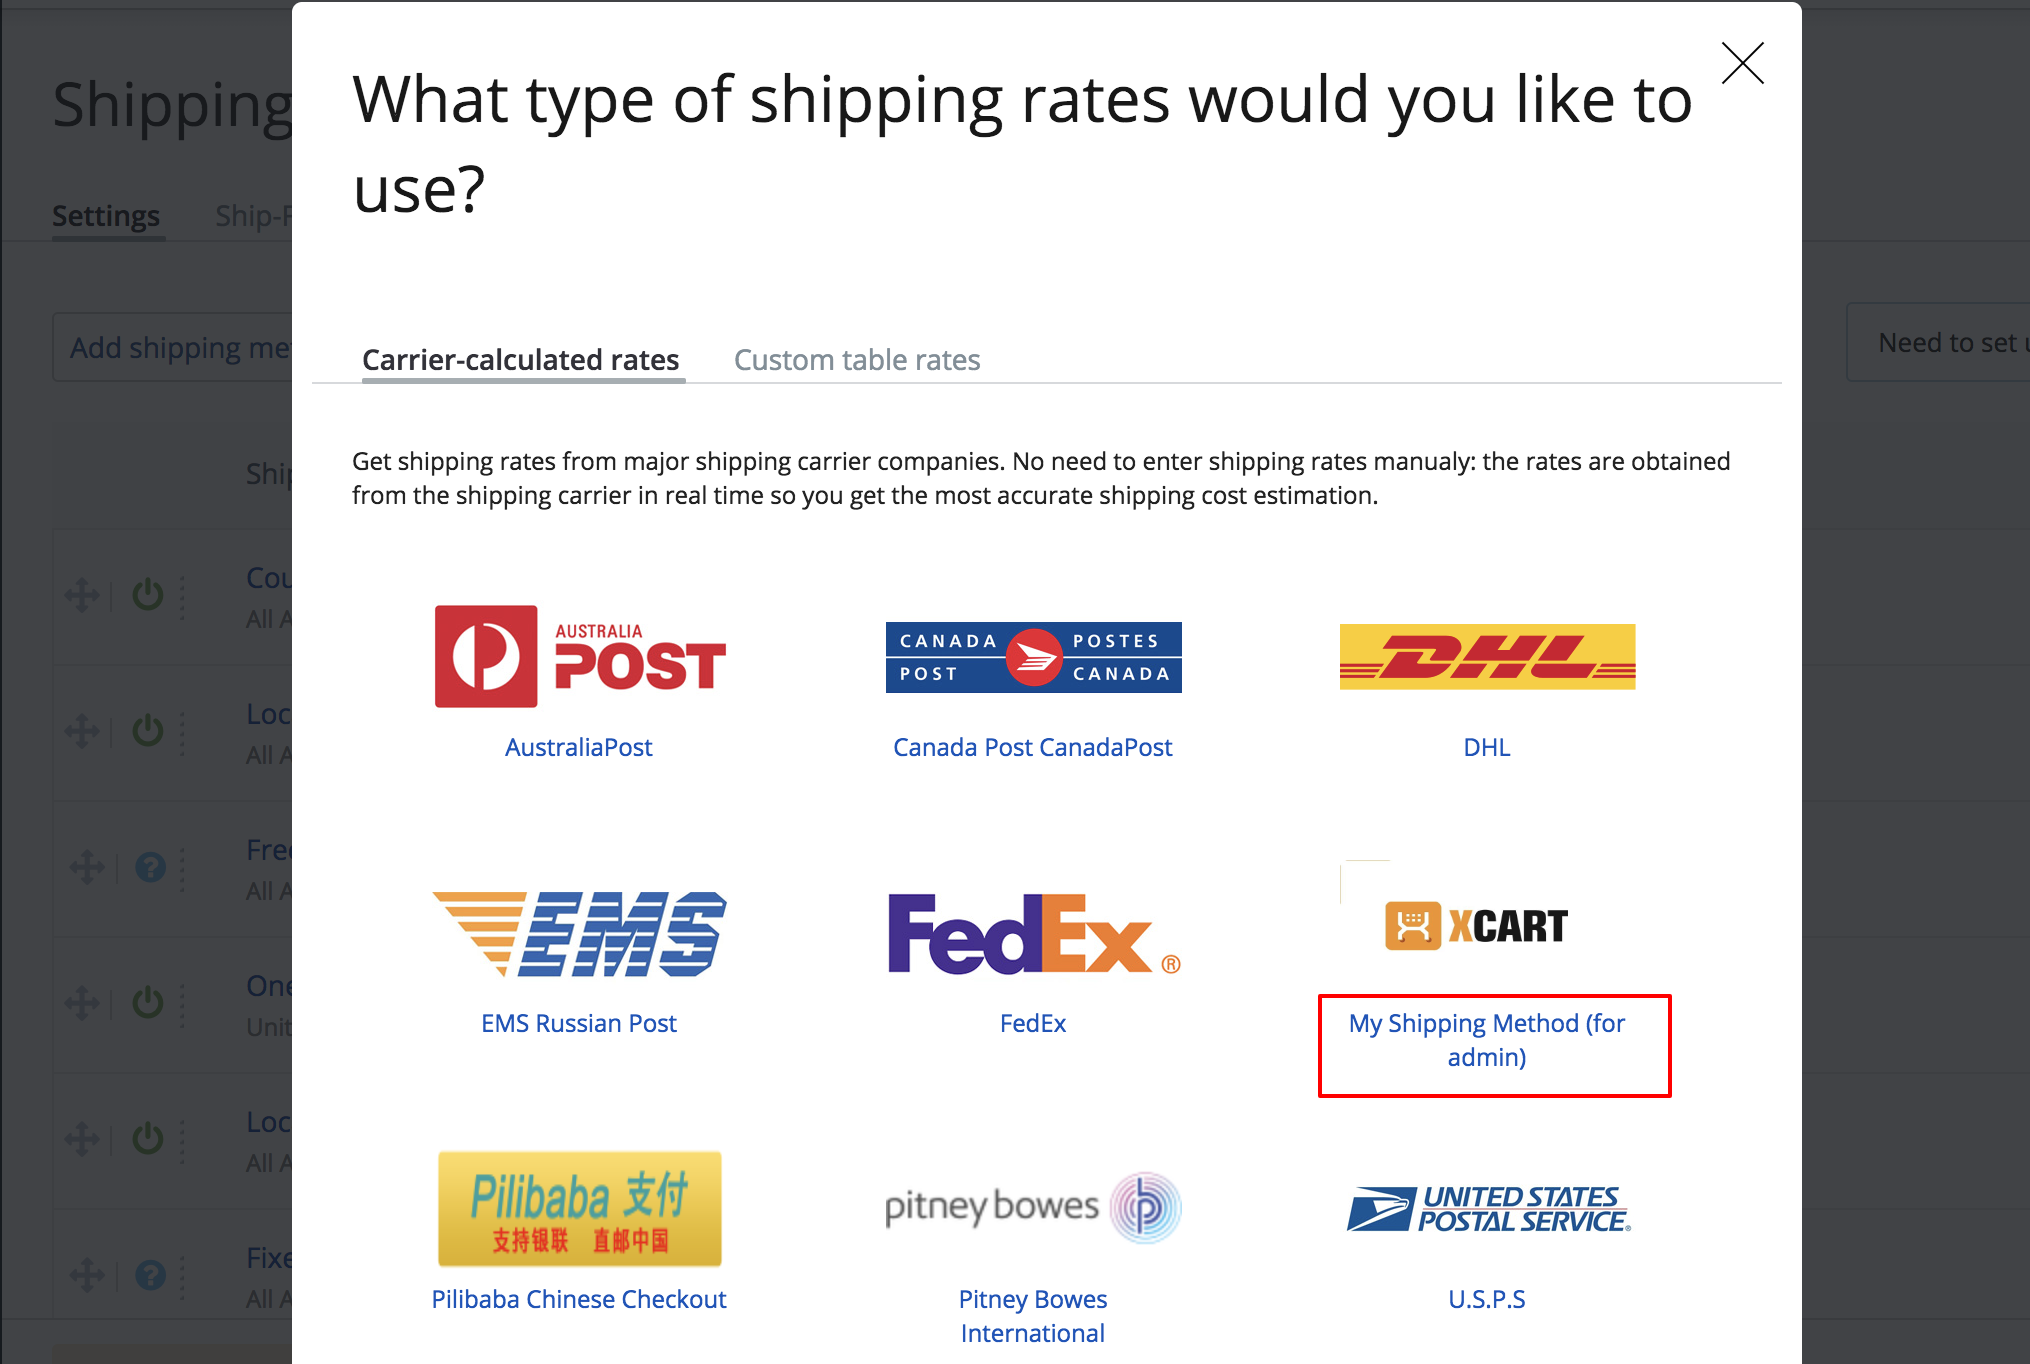
Key moment here is that it has 'carrier' property empty. It means, that this record is a parent record, or shipping carrier, in other words. Its name My Shipping Method (for admin) will be displayed in 'Add shipping method' popup:
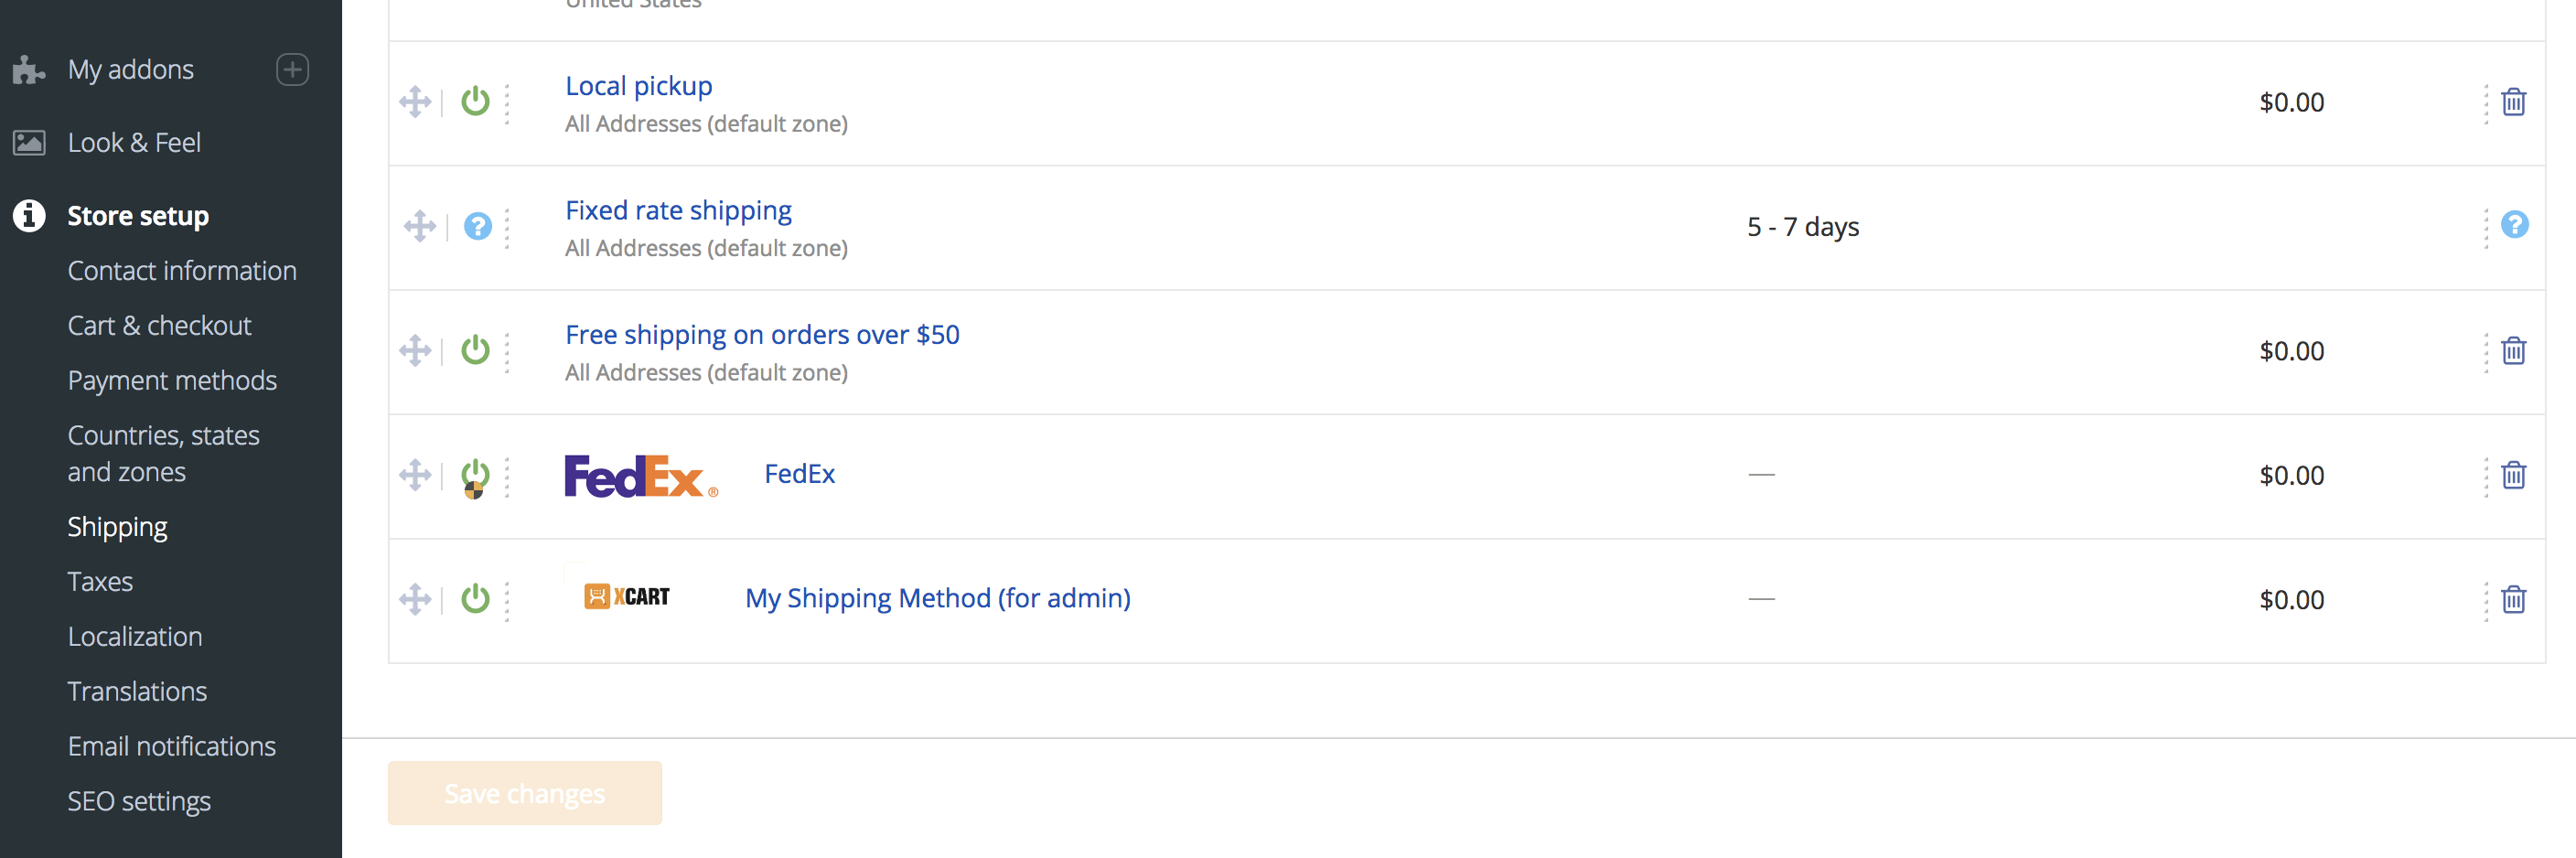
as well as in 'Store setup > Shipping' section in admin area:
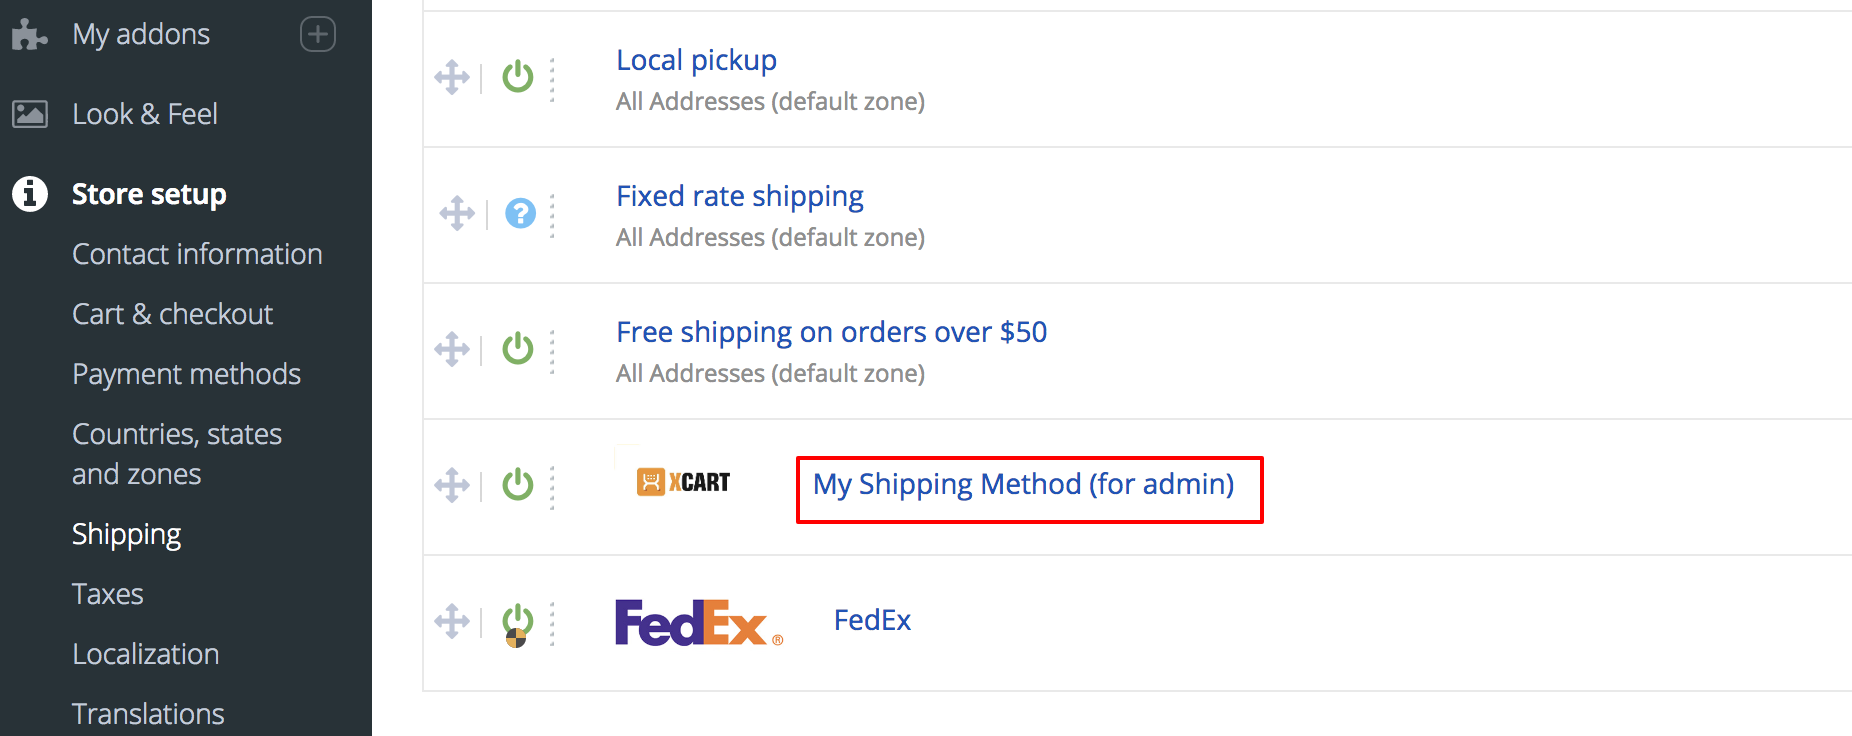
Icon of shipping carrier in admin area is defined by the skins/admin/modules/XCExample/ShippingDemo/method_icon.jpg image. If you create similar method_icon.jpg file in your module, it will be picked up automatically.
Shipping method that will be shown to customers is created by this piece of YAML file:
XLite\Model\Shipping\Method:
 - processor: MyProcessor
   carrier: MyProcessor
   code: 'MY_CODE'
   enabled: 1
   position: 0
   translations:
     - code: en
       name: "My Shipping Method (for customer)"
As you can see, it has 'carrier' property defined, which means that this method is provided by 'MyProcessor' carrier. Your module can contain multiple shipping methods assigned to a single carrier.
Settings of our shipping processor are described by this section:
XLite\Model\Config:
  - name: user
    category: XCExample\ShippingDemo
    type: XLite\View\FormField\Input\Text
    orderby: 10
    translations:
      - code: en
        option_name: User ID
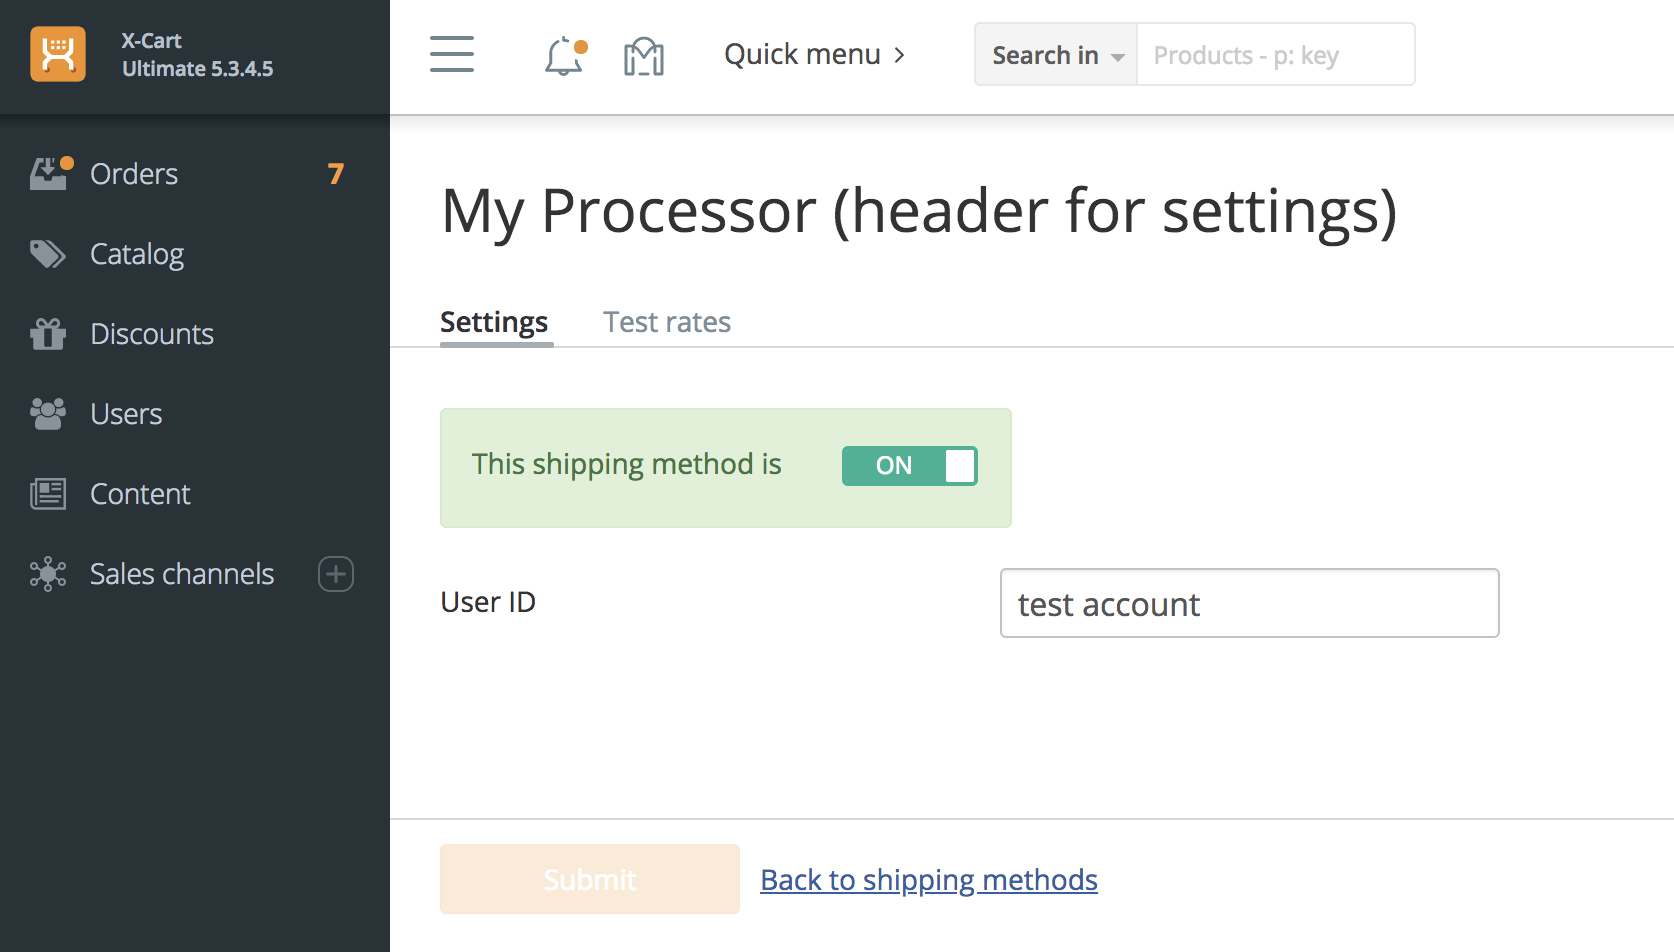
They are just regular module settings. You will see these settings on the shipping processor's settings page, which we are going to create right now. Our shipping processor does not use this option, but we show it in the module, so you see the mechanism of settings definition in action.
If you have already activated the module, do not forget to push this install.yaml file to the database.
Settings of shipping processor
Settings page for shipping processor is defined by creating its controller class. We create following controller: classes/XLite/Module/XCExample/ShippingDemo/Controller/Admin/MyProcessor.php
<?php

namespace XLite\Module\XCExample\ShippingDemo\Controller\Admin;

class MyProcessor extends \XLite\Controller\Admin\ShippingSettings
{
   /**
    * Get shipping processor
    *
    * @return \XLite\Model\Shipping\Processor\AProcessor
    */
   protected function getProcessor()
   {
       return new \XLite\Module\XCExample\ShippingDemo\Model\Shipping\Processor\MyProcessor();
   }

    protected function getModelFormClass()
    {
        return 'XLite\Module\XCExample\ShippingDemo\View\Model\Settings';
    }

    protected function getOptionsCategory()
    {
        return 'XCExample\ShippingDemo';
    }
}
First of all, this is a special controller class, because it inherits the \XLite\Controller\Admin\ShippingSettings class instead of regular \XLite\Controller\Admin\AAdmin.
The getProcessor() method returns an instance of our processor's class \XLite\Module\XCExample\ShippingDemo\Model\Shipping\Processor\MyProcessor.
The getModelFormClass() method returns a form, where the processor's settings will be wrapped up into. Surely, we need to create such class, so we create the classes/XLite/Module/XCExample/ShippingDemo/View/Model/Settings.php file with the following content:
<?php
// vim: set ts=4 sw=4 sts=4 et:

namespace XLite\Module\XCExample\ShippingDemo\View\Model;

class Settings extends \XLite\View\Model\AShippingSettings
{
}
As you see, we just need an instant of abstract shipping settings class, so we do not add anything else here.
After that, create two templates in the skins/modules/XCExample/ShippingDemo/ directory:
settings.twigthat will define a look of main settings page with the following content:{{ widget('XLite\\Module\\XCExample\\ShippingDemo\\View\\Model\\Settings') }}- empty
test.twigthat will define a look of the section where you can test shipping rates from the processor. Our module does not have a way to check test rates, so this section will be blank.
The getOptionsCategory() method defines options from which category must be displayed on this page. In our case, these are the options of our module XCExample\ShippingDemo that we defined in our install.yaml file.
Updating Main.php file
This is a final step of creating the shipping processor module.
We define that the module's settings can be accessed at admin.php?target=my_processor address, since we created controller for this target:
public static function showSettingsForm()
{
    return true;
}

public static function getSettingsForm()
{
    return \XLite\Core\Converter::buildURL('my_processor');
}
After we add these methods, we need to specify the following method in our \XLite\Module\XCExample\ShippingDemo\Model\Shipping\Processor\MyProcessor shipping processor class:
public function getSettingsURL()
{
    return \XLite\Module\XCExample\ShippingDemo\Main::getSettingsForm();
}
We define that this module is a shipping module:
public static function getModuleType()
{
    return static::MODULE_TYPE_SHIPPING;
}
This setting will allow to display our shipping processor in 'Add shipping method' popup in 'Store Setup > Shipping' section in admin area.
And finally we register our shipping processor in the system by adding following method:
public static function init()
{
    parent::init();

    \XLite\Model\Shipping::getInstance()->registerProcessor(
        '\XLite\Module\XCExample\ShippingDemo\Model\Shipping\Processor\MyProcessor'
    );
}
Final version of the Main.php class will be as follows:
<?php
// vim: set ts=4 sw=4 sts=4 et:

namespace XLite\Module\XCExample\ShippingDemo;

/**
 * Main module
 */
abstract class Main extends \XLite\Module\AModule
{
    /**
     * Author name
     *
     * @return string
     */
    public static function getAuthorName()
    {
        return 'XCExample';
    }

    /**
     * Module name
     *
     * @return string
     */
    public static function getModuleName()
    {
        return 'Shipping demo';
    }

    /**
     * Module description
     *
     * @return string
     */
    public static function getDescription()
    {
        return '';
    }

    /**
     * Get module major version
     *
     * @return string
     */
    public static function getMajorVersion()
    {
        return '5.3';
    }

    /**
     * Module version
     *
     * @return string
     */
    public static function getMinorVersion()
    {
        return '0';
    }

    public static function showSettingsForm()
    {
        return true;
    }

    public static function getSettingsForm()
    {
        return \XLite\Core\Converter::buildURL('my_processor');
    }

    public static function getModuleType()
    {
        return static::MODULE_TYPE_SHIPPING;
    }

    public static function init()
    {
        parent::init();

        \XLite\Model\Shipping::getInstance()->registerProcessor(
            '\XLite\Module\XCExample\ShippingDemo\Model\Shipping\Processor\MyProcessor'
        );
    }
}
Checking the results
Now our module is ready and we need to re-deploy the store. Once this process is completed, we should go to the 'Store setup > Shipping' section in the admin area, click 'Add shipping method' button and you will see our shipping processor there:
Click on it and enable the processor on the next page:
After that you should see the shipping processor in the list:
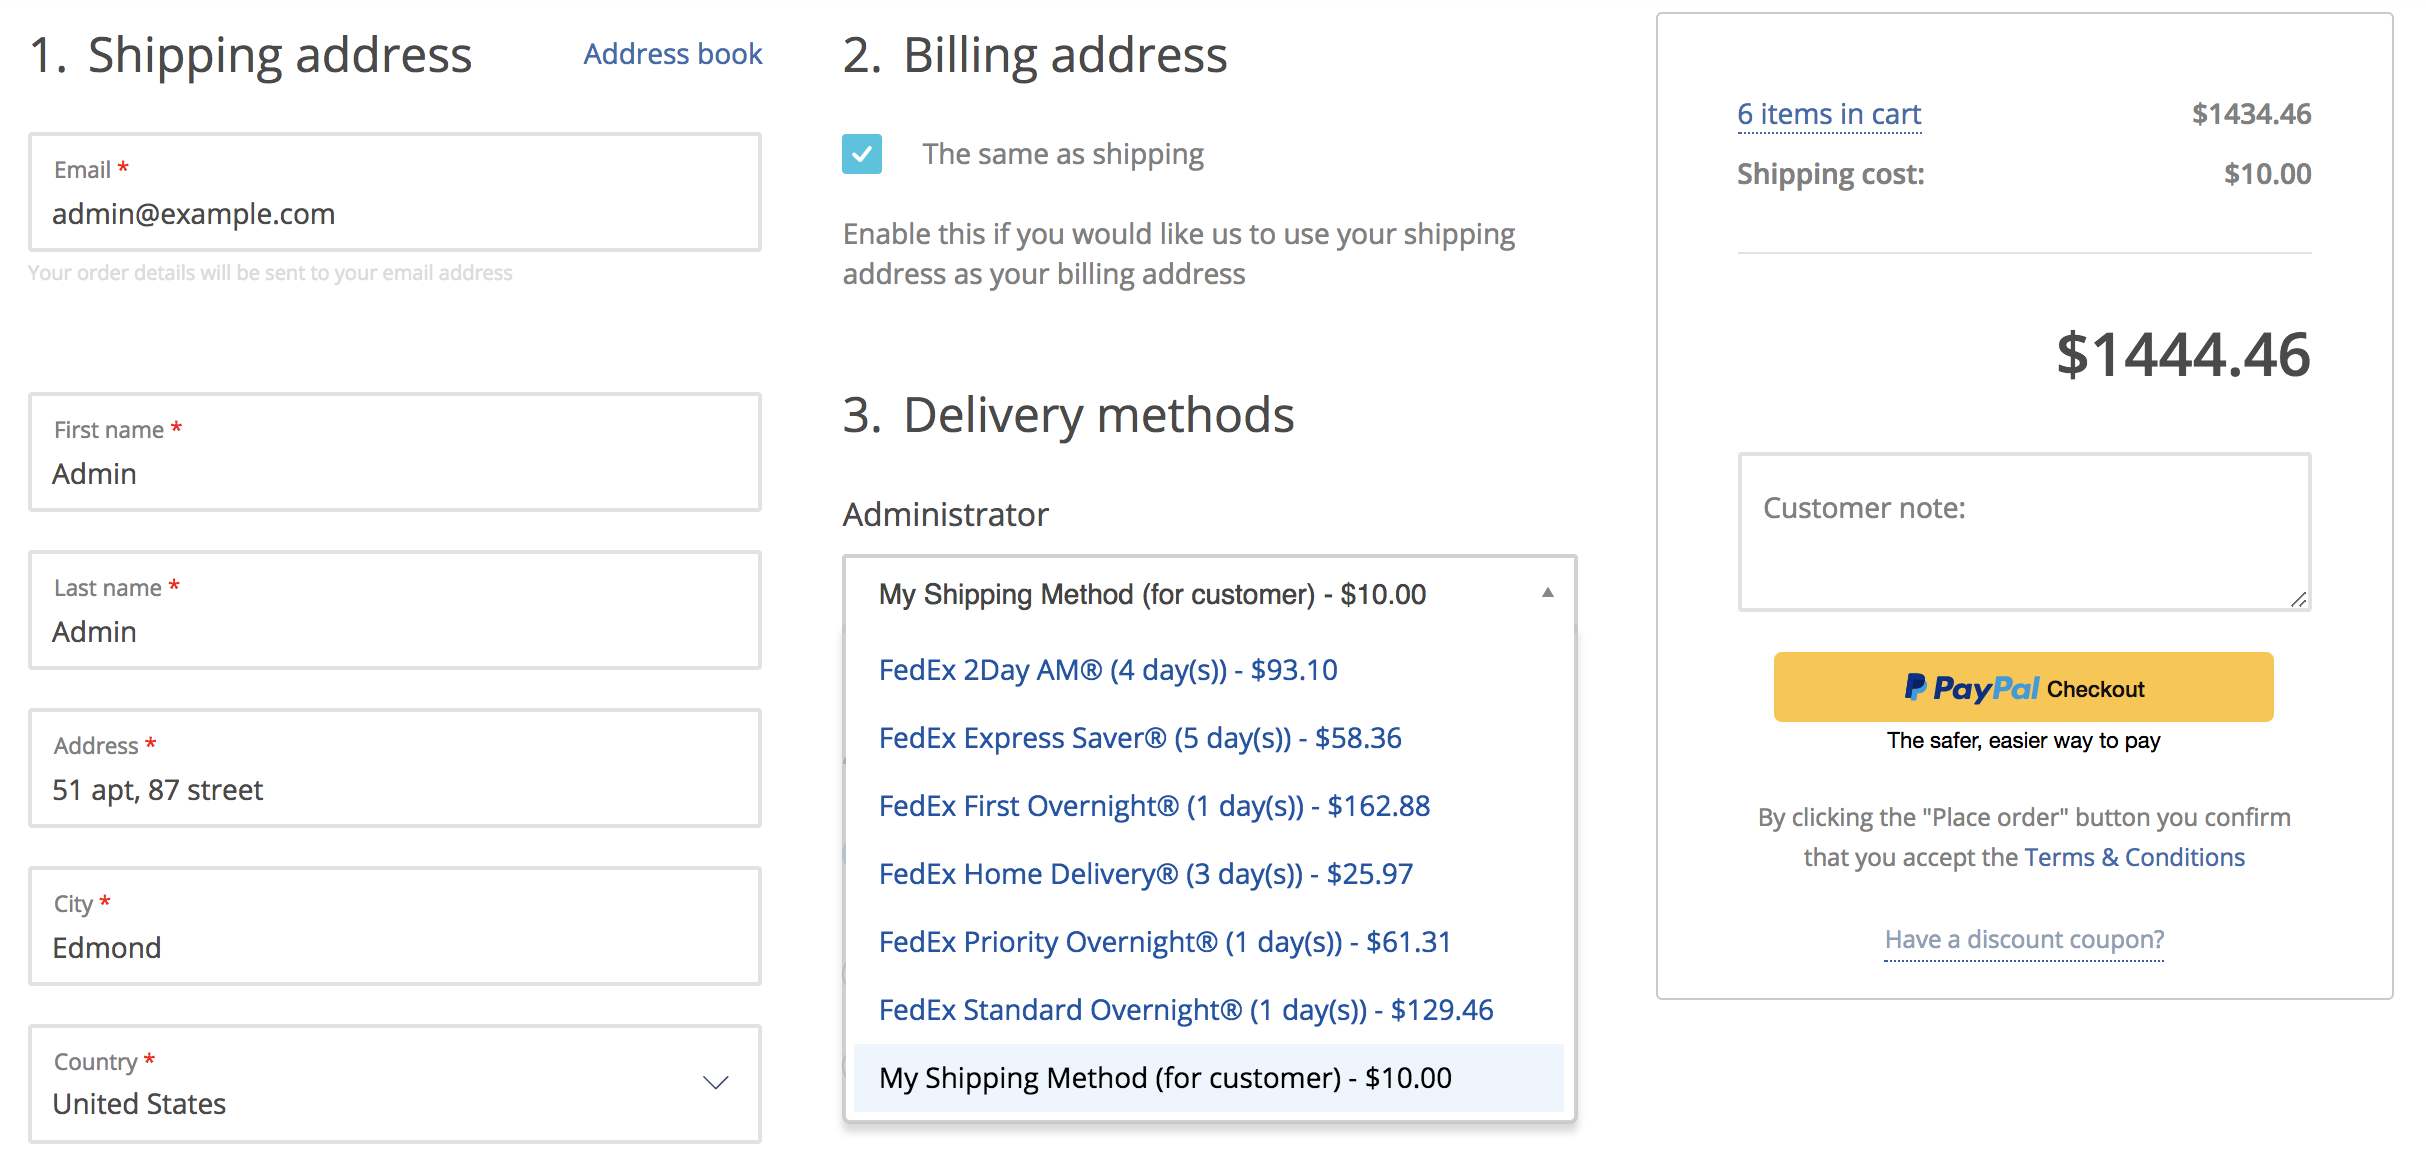
Then, go to customer area, add some product to a cart and proceed to checkout. You should be able to see our shipping method there:
Module pack
You can download this module example from here: XCExample-ShippingDemo-v5_3_0.tar