Introduction
This article explains main approaches of how to change look of X-Cart.
How X-Cart renders pages
X-Cart uses Twig as a template engine. Twig allows a template to call another template to be included. X-Cart also allows Twig to call for widget classes and sets of templates and widgets. We call such sets as 'view lists', but we will talk about them later.
To clarify these terms, let us have a look at the code. Each page in customer area is rendered using one of main templates: <X-Cart>/skins/customer/body.twig (for admin area: <X-Cart>/skins/admin/body.twig). Let us have a look at its code:
{##
 # Common layout
 #}
<!DOCTYPE html>
<html lang="{{ this.currentLanguage.getCode() }}"{% for k, v in this.getHTMLAttributes() %} {{ k }}="{{ v }}"{% endfor %}>
  {{ widget('\\XLite\\View\\Header') }}
<body {% if this.getBodyClass() %}class="{{ this.getBodyClass() }}"{% endif %}>
{% do this.displayCommentedData(this.getCommonJSData()) %}
{{ widget_list('body') }}
{##
 # Please note that any custom list child of 'body' will NOT have its CSS/JS resources loaded because the resources block is being 'body' child itself. Use 'layout.main' or 'layout.footer' instead.
 #}
{{ widget('\\XLite\\View\\Footer') }}
</body>
</html>
This template calls for widget classes:
{{ widget('\\XLite\\View\\Header') }}
{{ widget('\\XLite\\View\\Footer') }}
It means that when X-Cart renders the page and bumps into a call for widget class, it calls this class (in our case \XLite\View\Header and \XLite\View\Footer) and then this class will put its own HTML code instead of {{ widget('\\XLite\\View\\Header') }} construction.
Even though <X-Cart>/skins/customer/body.twig does not have a direct call for another template, but it would look as follows:
<widget template="another-template.tpl" />
This is straight-forward: once X-Cart finds such line, it would display a content of external template in this spot.
<X-Cart>/skins/customer/body.tpl template also calls for view list:
{{ widget_list('body') }}
X-Cart allows to assign templates and widget classes into sets or - as we call them - 'view lists'. Essentially it is just a collection of widgets and templates. X-Cart also allows to display all these templates and widgets in one place by calling this view list.
Such approach allows core code to define a big number of view lists - each of them for very specific purpose - and then all modules can use these view lists in order to add their own pieces of HTML code. Since these pieces of HTML code can be separated from the core code, it allows X-Cart to be easily upgraded just by replacing default files.
The main idea of this paragraph is to show you that X-Cart has a treelike structure of templates and widgets, where new 'branches' can be called as widgets, templates or view lists.
Seeing structure of specific page
Let us take a real-world example, we want to edit your company logo in top left corner of customer area.

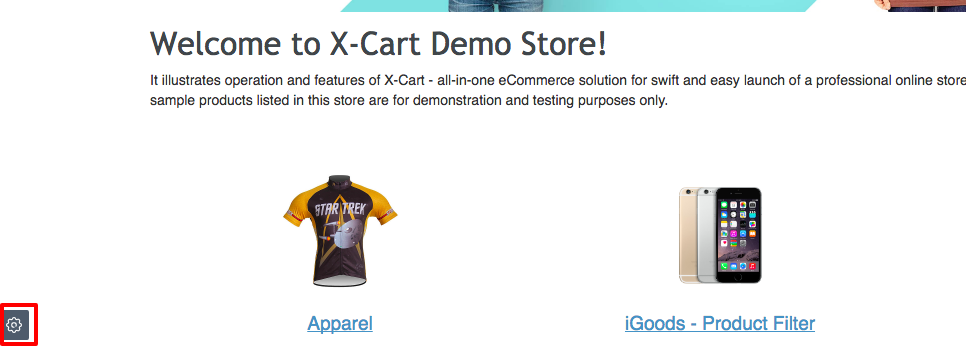
How do we know what template or widget renders this page? To find out that we are going to use 'Webmaster mode' feature (it is a part of standard 'Theme Tweaker' module). To use Webmaster Mode, you should log in as admin and go to customer area. You will see a wheel icon at the bottom of the page:

Click this wheel and you will see several panels for editing look of customer area. Click on 'Template editor' and you will see a section like this:

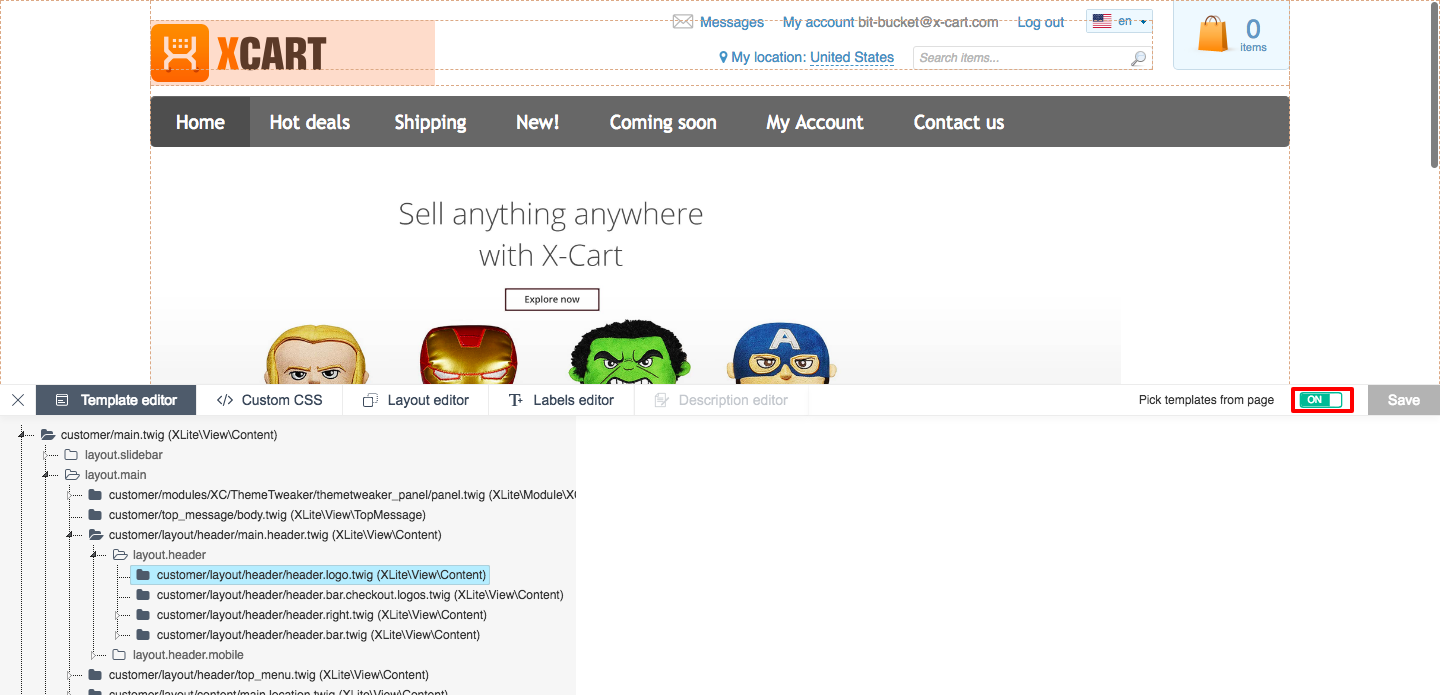
Tick the option 'Pick templates from page' on and click the section you want to know the template for. The result will be as follows:

As you can see, X-Cart says that the template responsible for this area is customer/layout/header/header.logo.twig, which is a part of 'layout.header' view list, which is called in customer/layout/header/main.header.twig template, which is in turn a part of 'layout.main' view list, which is called from customer/main.twig template.
Okay, now we know the template and view list it belongs to, so how do we actually change the logo in the module. There are several ways.
Theming
First approach will be useful if you are going to create your own theme. In other words, when you are going to replace a big number of default templates with your own versions. In this case, we need to create a theme.
To illustrate the task, let us create a module with module ID XCExample and module ID ThemeDemo. After we created standard Main.php, we need to add one more method into it:
public static function getSkins()
{
    return [
        \XLite::CUSTOMER_INTERFACE => ['theme_demo' . LC_DS . 'customer'],
    ];
}
This method defines that our module adds its own theme and files for customer interface are stored in skins/theme_demo/customer/ directory. If we enable this module, then X-Cart will start to render HTML code normally, but everytime there is a call to include a template, X-Cart will be checking whether there is such file in our skins/theme_demo/customer/ folder. If there is such template in our theme, then this template will be rendered instead of default one.
For the sake of example, let us create skins/theme_demo/customer/layout/header/header.logo.twig template with the following content:
<div class="company-logo">My logo</div>
If we refresh the page, we will see 'My logo' label instead of default X-Cart logo.

Pack of this demo module can be downloaded from here: XCExample-ThemeDemo-v5_3_0.tar
Moreover, if you want to theme your store quickly, there is already module XC/CustomSkin which is just a blank theme.
Registering template in view list
Although theming is strong approach, it is not always preferable. If you need a couple of changes here and there, you may want to prefer some lighter option.
In this part, we will see how you can assign templates into view lists, so they would appear in right places.
We start off with creating simplest module with developer ID XCExample and module ID DesignChangesDemo.
Now, let us have a look at the template skins/customer/layout/header/header.logo.twig that we are going to replace:
{##
 # Header logo
 #
 # @ListChild (list="layout.header", weight="100")
 #}
<div id="{{ this.getUniqueId('logo') }}" class="company-logo">
  <a href="{{ url() }}" title="{{ t('Home') }}" rel="home"><img src="{{ this.getLogo() }}" alt="{{ t('Home') }}" /></a>
</div>
Notice this construction @ListChild (list="layout.header", weight="100") inside Twig's comments. This construction means that the template is assigned to the 'layout.header' view list with 100 weight. When view list is called inside some template, X-Cart will render all templates and widgets (we will talk about them later) according to their weights. First will come widgets with weight 1, then 2, etc.
Now the idea is to create a template with HTML code for our logo and then assign it to the same view list as default skins/customer/layout/header/header.logo.twig template. So, we create such template at skins/customer/modules/XCExample/DesignChangesDemo/header.twig with the following code:
{##
 # Header logo
 #
 # @ListChild (list="layout.header", weight="99")
 #}
<div class="company-logo">
  My logo
</div>
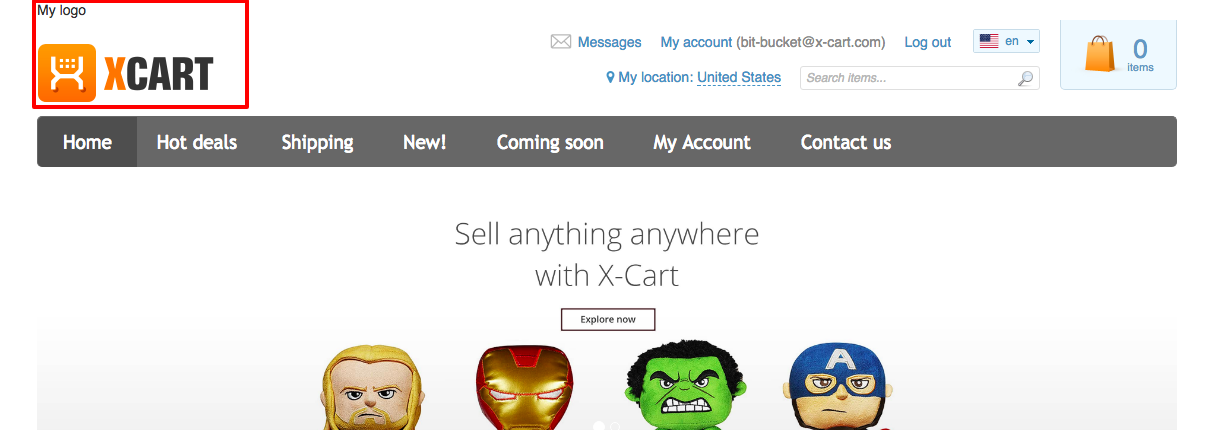
Notice that weight is 99, which means that our label 'My logo' will be placed before default X-Cart logo.
Since X-Cart needs to register this template in a view list, we have to rebuild a cache in order to see the changes. After that we will see a result like this:

What if we want to remove default X-Cart logo from the page? In this case, we need to unassign skins/customer/layout/header/header.logo.twig template from the 'layout.header' view list. For that, edit Main.php file of your module and add the following method there:
protected static function moveTemplatesInLists()
{
    $templates = [
        'layout/header/header.logo.twig' => [
            static::TO_DELETE  => [
                ['layout.header', \XLite\Model\ViewList::INTERFACE_CUSTOMER],
            ],
        ],
    ];

    return $templates;
}
Again, since X-Cart has to rebuild view lists, the changes will be seen only after cache rebuild.
If we wanted to unassign multiple templates from multiple view lists, we would create a method like this:
protected static function moveTemplatesInLists()
{
    $templates = [
        'layout/header/header.logo.twig' => [
            static::TO_DELETE  => [
                ['layout.header', \XLite\Model\ViewList::INTERFACE_CUSTOMER],
            ],
        ],
        'other/template.twig' => [
            static::TO_DELETE => [
                ['one.view.list', \XLite\Model\ViewList::INTERFACE_CUSTOMER],
                ['another.view.list', \XLite\Model\ViewList::INTERFACE_ADMIN],
            ],
        ],
    ];

    return $templates;
}
As you can see, we approached the same result here as with theming method, but we did not have to create a new theme. But what if we wanted to put some dynamic info into our template, not just plain HTML code. For instance, print current time (for some unknown reason) next to our label.
In this case, we would have to use widget class instead of regular template.
Registering viewer class in view list
Let us approach this (probably silly) task of printing current time to see viewer classes in action.
We will use the same module XCExample/DesignChangesDemo and we want to create a special class that will be responsible for displaying dynamic content. So, we create the XLite\Module\XCExample\DesignChangesDemo\View\HeaderLogo class with the following content:
<?php

namespace XLite\Module\XCExample\DesignChangesDemo\View;

/**
 * @ListChild (list="layout.header", zone="customer", weight="101")
 */

class HeaderLogo extends \XLite\View\AView
{
    protected function getDefaultTemplate()
    {
        return 'modules/XCExample/DesignChangesDemo/date_label.twig';
    }

    protected function getTime()
    {
        return date('H:i');
    }
}
There are three important parts:
- We must register this viewer class into view list. The same way as we did with templates:
@ListChild (list="layout.header", zone="customer", weight="101"). Notice that we explicitly specify that it is for customer interfacezone="customer". - We specify a template that will be used for rendering HTML code. In our case, it is
skins/customer/modules/XCExample/DesignChangesDemo/date_label.twig. Code of this template is below. - We provide special methods that will be called from the template. In our case, it is
getTime().
Let us have a look at the code of template skins/customer/modules/XCExample/DesignChangesDemo/date_label.twig:
<div class="company-logo">
    Current time: {{ this.getTime() }}
</div>
As you can see, we call getTime() method there, because this is our source of dynamic info.
Now we need to rebuild the cache in order to register this class into view list and then we will see a result like this:

If we wanted to remove this class from the view list, we would create the following method in our Main.php file:
protected static function moveClassesInLists()
{
    $classes = [
        'XLite\Module\XCExample\DesignChangesDemo\View\HeaderLogo' => [
            static::TO_DELETE => [
                ['layout.header', 'customer'],
            ],
        ],
    ];

    return $classes;
}
If we wanted to remove multiple classes from different view lists, we would create a method like this:
protected static function moveClassesInLists()
{
    $classes = [
        'XLite\Module\XCExample\DesignChangesDemo\View\HeaderLogo' => [
            static::TO_DELETE => [
                ['layout.header', 'customer'],
            ],
        ],
        'XLite\View\Other\Viewer\Class' => [
            static::TO_DELETE => [
                ['first.view.list', 'admin'],
                ['another.view.list', 'customer'],
            ],
        ],
    ];

    return $classes;
}
The module pack below has the moveClassesInLists() method commented out, in order to allow you see the effect of adding your own viewer class.
Module pack
Pack of the module can be downloaded from here: XCExample-DesignChangesDemo-v5_3_0.tar