Welcome to the X-Cart App Store system. Please follow the guidelines below to create your account, set up new products, withdraw your revenue share, and more.
Should you have any additional questions, please feel free to contact Alex Mulin – He's going to be your main point of contact.
Getting Started with X-Cart App Store
Welcome to X-Cart App Store! Please follow these instructions to create and set up your vendor account and upload your first add-on or skin.
Register a vendor account
Click the link below to create a new vendor account.
[Register as Vendor]
Log into your vendor account
Click the link below and log in using the account. You’ll find yourself in the X-Cart Marketplace vendor back-office.
[X-Cart App Store backend]
Configure your vendor account
Now let’s see what you have in your vendor profile. This data may affect the further setup process and how your information will show in the X-Cart App Store.
Go to the top right corner of the vendor back-office and click on the "My profile" link in the popup menu there.
Go to the "Company details" tab and configure public details about your company. Use the hints near the form fields if you are not sure exactly what information goes there. Don’t forget to hit the "Update profile/Save'' button.
Pay attention to what you put into the "Developer ID" field there - this is the Developer ID you are going to use in your add-on package. If they do not match you won’t be able to upload your add-on. Developer ID is your namespace in the X-Cart App Store system. It is supposed to be included in your add-on according to X-Cart 5 development guidelines published at https://developer.x-cart.com/
If you are a service that does not require an ass-on for X-Cart to connect (e.g. if the service is integrated via X-Cart API), use your company name as your Developer ID.
Some parts of the X-Cart App Store allow to filter partners by location. In order to show up in those filters, we recommend that you set up your company location in "Locations".
Next, go to the "Sub-users" tab to set up separate sub-user accounts for your team members if necessary. You may choose to share your login information with them instead. It is up to you, but for security reasons, we recommend creating a sub-user profile for every staff member who will work with the X-Cart App Store.
Logging Into a Registered Vendor Account
Click the link below to log into your vendor account.
[Log In]
If you lost access to your vendor account just use "Forgot your password?" link on the ‘Log in via HelpDesk" popup window.
Editing an Existing Product
In your vendor back-office, navigate to Catalog –> Products in the left-hand menu. Click on the add-on name to start editing your existing product listing.
When you edit an existing and published X-Cart App Store product there won’t be another review and approval process, but we will still review your changes.
Adding a New Product
IMPORTANT: Before you submit your product, please make sure it complies with the following rules and standards.
In the left-hand navigation menu, go to Catalog -> Products and click the "Add product" button to start adding a new X-Cart App Store product.
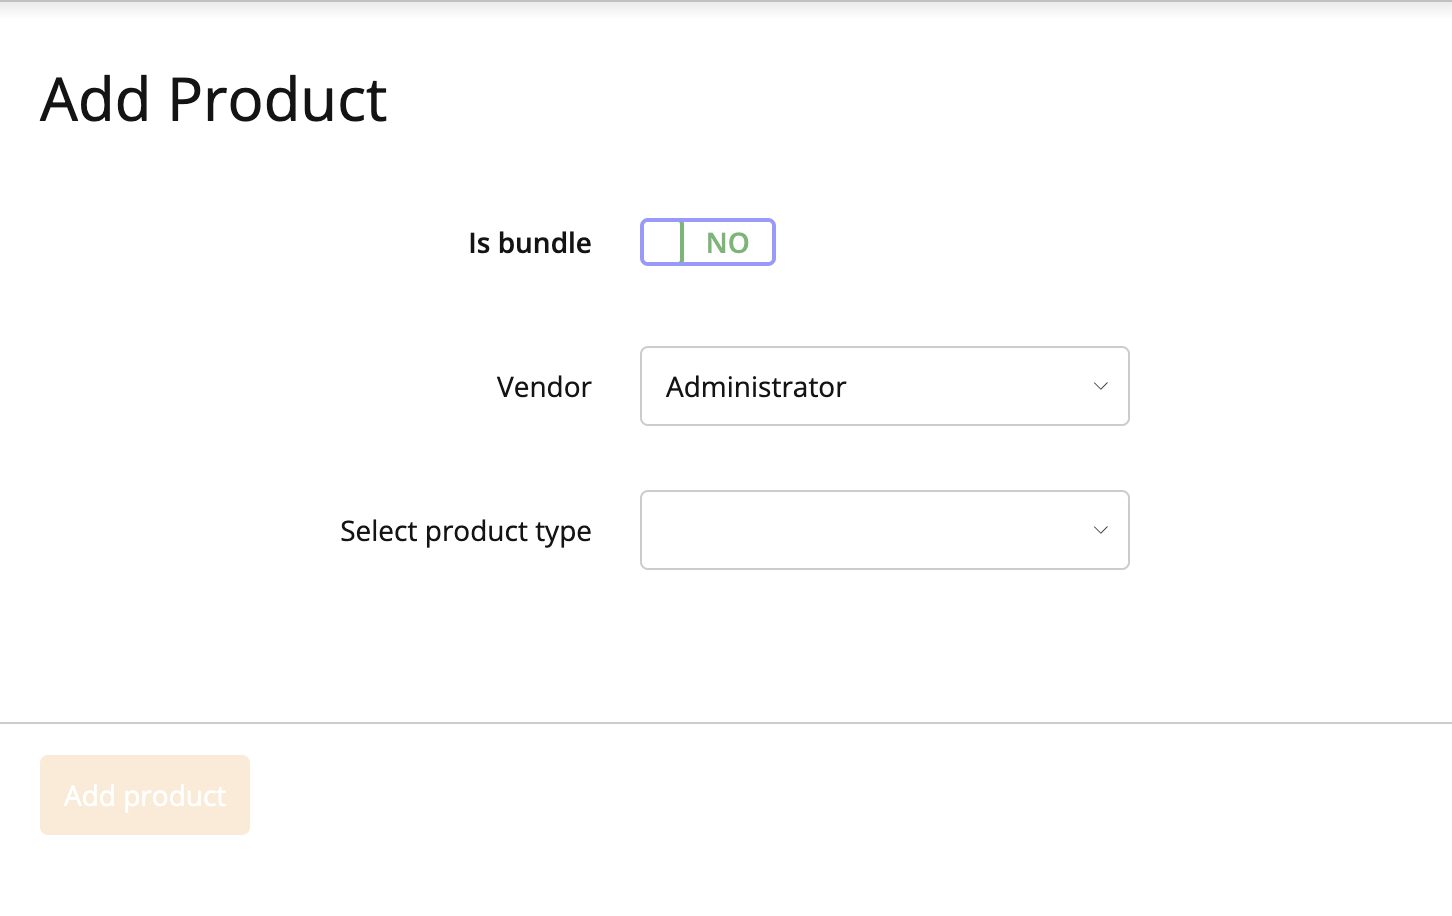
Is bundle: If you want your new product to be a part of the bundle, switch to "YES". If you want to sell it as a standalone product, leave the toggle set on "NO".
Vendor: Your Developer ID should be set as default here.
Select product type: Choose the necessary type of product here.
- If you are submitting an add-on that modifies the X-Cart's functionality or an integration with a third-party service, please choose Add-on.
- If your product is a color scheme or a design storefront theme, please use the Template type.
- If you are registering your agency that provides services for X-Cart based businesses (e.g. hosting services, development or design creation, PPC or marketing, etc.), choose Experts & Services.
Set Up Your Product Page
When you are all set with the initial product information, it's time to provide the listing content that will show up at your product page. Please be careful providing the images and copy, as your potential buyers will make their decision based on what they see in the product page.
You will find specifications and helpful tips on creating your add-on icons, screenshots, and descriptions here:
[Product Listing Guidelines]
The "Tabs" section allows you to set up additional tabs on your product page, for example, if you want to add your Return Policy.
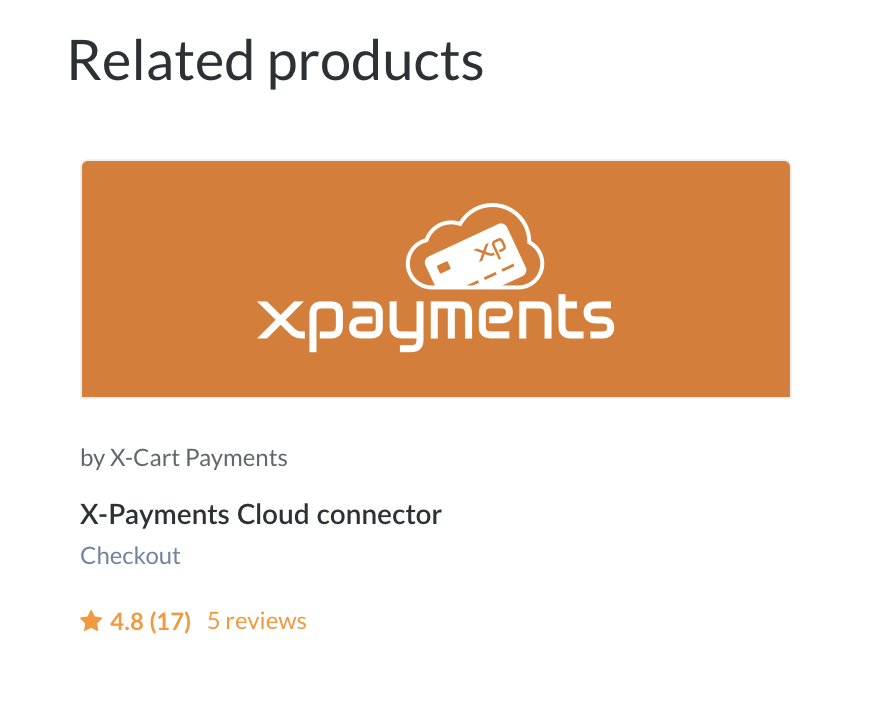
Use the "Related products" functionality to add bi-directional links with other products in the X-Cart App Store. These products will appear at the bottom of the product page in a special Related Products section.
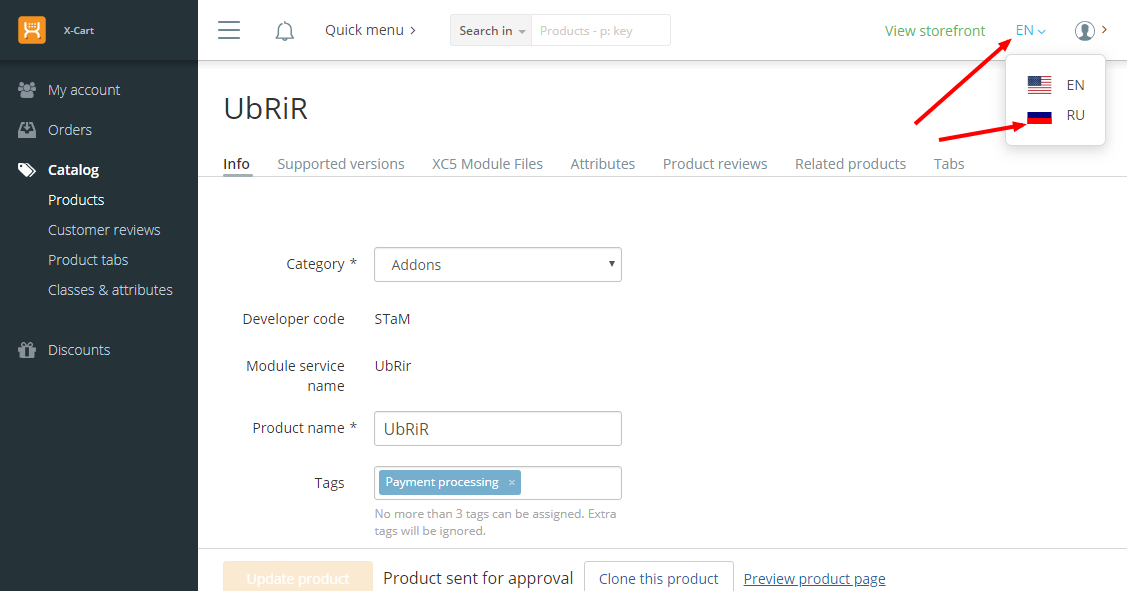
You may want to add a translation for your product description if you want to offer your add-ons or services to non-English speaking customers. Just switch the language selector near your profile icon in the top right corner to other language and submit that translation. Don’t forget to click on the "Update" button.
Products for paid modules cannot be both for X-Cart 4 and X-Cart 5, you will need to set up separate products for each X-Cart platform.
Add relevant tags in "Tags" for your product to show up in the relevant categories. Please use only relevant categories!
If you want to add a button in your product description, please use these code samples only:
<a href="your link here" class="btn regular-button">Sign up</a>
Or
<a href="your link here" class="btn regular-main-button">Sign up</a>
Please use our affiliate links to your site in the description and buttons if your current affiliate management system does not support direct links.
Pay attention to the Marketing section when submitting your product listing. All its fields are optional, but you may want to use this opportunity to make your listing more visible and SEO-friendly.
After you've finished with the product descriptions and uploaded all the icons and screenshots, use the "Preview product page" link at the bottom of the product setup page to check how your page will look.
Upload Your Add-on
Most of our vendors develop and offer the add-ons, themes, and services for X-Cart 5, but a solid part of the services is also offered to our X-Cart 4 customers. The process for adding an X-Cart 5 add-on and an X-Cart 4 module are slightly different.
Submitting an X-Cart 5 Add-on
Go to "Supported versions" and add the X-Cart 5 editions that your add-on supports, then go to the "XC5 Module Files" tab and upload your add-on package there. The supported versions will be picked up automatically from the distribution package, so you don't need to set them up manually. The Developer ID in the package must match what you have in your vendor profile (see "Step 3" above).
Uploading an X-Cart 4 (X-Cart Classic) module
Go to the "Supported versions" tab and add the X-Cart 4 editions your extension supports, then go to the "XC4 Module Files" tab and upload your module package there. Once uploaded, configure the availability of every file (i.e. set up if it's only available after the purchase or is free for everyone and available right on the module page).
Unlike X-Cart 5, the supported versions aren't populated automatically for X-Cart 4 modules, so you will need to go back to the "Supported versions" tab and specify the exact X-Cart 4 versions your module supports.
Pricing
Set the add-on price in the "Price" field to make your extension available for purchase via our ordering system - we will charge 25% of the module price in this case.
Set "Prolongation price" if you want your buyers to pay an annual fee to access new versions of your add-on. Our X-Cart App Store system will handle that automatically for you.
You may want to add a paid installation service option. To do that, go to the Product Attributes tab and add a new product-specific attribute called "Installation service".
After-Sale Email
For paid add-ons you may set up an automated after-sale email.
Once you set "Paid" as "Price type", the option "Send post-purchase notification" becomes available. If you change it to "Yes" you will be able to set the after-sale email in the "Post-purchase order notification text" input area.
The notification will look roughly like this:
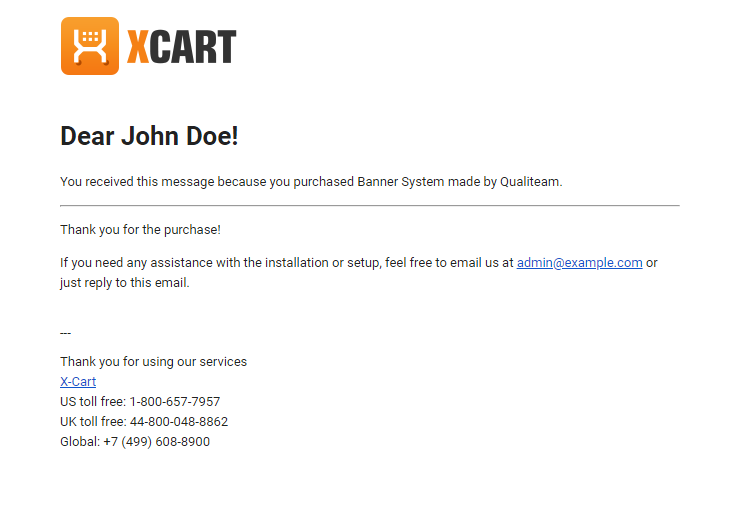
Your custom text will be placed below the horizontal line.
You will receive the replies to your vendor’s email address.
Final Review and Publication
When your product is ready for publication hit the "Send for approval" button at the bottom of your product page. We will perform the code review and the content review and either approve or decline the listing. It may take up to a business day so don't worry if you don't hear from us right away.
We may decline your request for publication if your product doesn't comply with one or more of our rules and standards. In such a case, we will provide you with our reasons for declining and possible ways to fix the listing. You will be able to fix the issues and re-submit your product listing.
Sales and Payouts
You may check your sales in the Orders -> Orders list menu.
Your current balance is displayed in My account -> My Transactions. If your current balance exceeds $100, you will see the "Request Payout" button at the bottom of the page. Once you click on it, you will be asked to upload your invoice with your payment information (PayPal account, wire, or ACH account details) for this payout. Requests for payouts are also handled within one business day.
Customer Communication
Use Orders -> Messages to view your communications with the X-Cart users who use your add-ons. To send a new order message, you will need to go into Orders -> Orders list, locate the order and open it, then go to the Messages tab.
Answering User Reviews
Being the developer or the service provider, you may answer reviews posted by its users. To answer a review, go to Catalog -> Customer reviews, locate the review and open it, then use the "Add response" link in the bottom to post your response.
Downloading X-Cart Source Code
Open your profile page and go to the "Developer info" tab. There you will see links to download all X-Cart versions.