Introduction
This article aims to teach designers how they can create X-Cart skin using preemptive (or substitutional) template model. This guide will also introduce Custom Skin module and will give real life example of how to work with preemptive templates in X-Cart.
Before you get started, we recommend learning the basic designer guide from Getting started section.
Also, you might want to read about advanced skin module definition.
Registering themes in the module
If we want to make our module to be a skin and dramatically change the X-Cart appearance, there is a special way how to do it:
Create an empty module. In this article, I will be using module with developer ID as Tony and module ID as SkinDemo.
Add the following method into your
Main.phpfilepublic static function getSkins()
{
return array(
\XLite::CUSTOMER_INTERFACE => array(
'TonyTheme/customer',
),
\XLite::ADMIN_INTERFACE => array(
'TonyTheme/admin',
),
);
}This method tells X-Cart that this module registers new templates for customer area (they are located in the
<X-Cart>/skins/TonyTheme/customer/en/folder) and new templates for admin area (they are located in the<X-Cart>/skins/TonyTheme/admin/en/folder)Create aforementioned directories:
<X-Cart>/skins/TonyTheme/customer/en/and<X-Cart>/skins/TonyTheme/admin/en/After we have done all this and re-deployed the store, X-Cart will start looking for templates in our newly created folders first (
<X-Cart>/skins/TonyTheme/customer/en/and<X-Cart>/skins/TonyTheme/admin/en/) and if it does not find them there, it will start looking for them in default skin folders (<X-Cart>/skins/default/en/,<X-Cart>/skins/admin/en/)In order to make sure that everything works as we expect, let us try to override
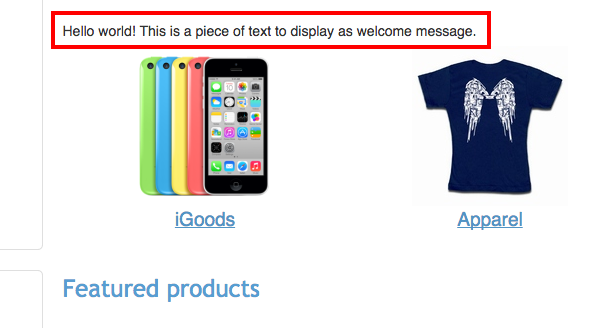
<X-Cart>/skins/default/en/welcome.tpltemplate which is responsible for display of welcome message in store-front.We just create the template
<X-Cart>/skins/TonyTheme/customer/en/welcome.tplwith the following text:Hello world! This is a piece of text to display as welcome message.Check the store-front with re-deploying the store. It should display our welcome message there, while rest of the layout will be the same.
Important note: if you override templates that contain @ListChild directives, do not keep this directive in the overriding template. Otherwise X-Cart will include this template twice.
Module example
You can download this module sample here: Tony-SkinDemo-v5_1_0.tar
Using ThemeTweaker module
This part is more focused on merchants, because it introduces the ThemeTweaker module that eases the process of adjusting your store design without having to create your own module.
Let us assume a task that you want to get rid of exclamation marks from notifications about orders changed their status. Here is how you can approach it:
Go to your admin area and enable the ThemeTweaker module in your Extensions > Installed modules section. This module is free for all X-Cart pakages.
Once the module is enabled, we should find what template defines the Order receipt #1234! messages. We can do it using the approach described earlier or just by searching files for Order receipt substring. These templates are: -
skins/mail/en/order_advanced_changed/subject.tplskins/mail/en/order_changed/subject.tpl-skins/mail/en/order_processed/subject.tpl-skins/mail/en/order_shipped/subject.tpl
Now we need to override these templates as explained earlier in this article – by putting substituting templates into the custom skin folders. ThemeTweaker module already has directories where you can put such templates and these templates will override default layout. These directories are:
skins/theme_tweaker/customer/for customer interfaceskins/theme_tweaker/mail/for email notifications interface
We create the
<X-Cart>/skins/theme_tweaker/mail/en/order_advanced_changed/subject.tplwith the following content:{config.Company.company_name:h}: {t(#Order receipt#)} #{order.getOrderNumber()}in other words, we just remove the exclamation mark from the notification. The same way create three other overriding templates.
If developer mode is enabled in your store, effect will take place immediately after you save the templates, without having to re-deploy the store.
Surely, you can apply more complex modifications to your store layout using the same approach.
Attachments:
- custom-welcome-message-text.png (image/png)