Introduction
This article explains how to create module's settings and then use these settings in the code.
For the sake of example, we will create a module that has textarea setting where you can put any HTML code and this HTML code will be added between <head></head> tags on each page in the storefront. Also, this guide contains examples of other setting types you may want to use in your module.
Creating module with settings
Create an empty module. In this example, we use developer ID as XCExample and module ID as SettingsDemo.
Add the following method into your
Main.phpfile:public static function showSettingsForm()
{
return true;
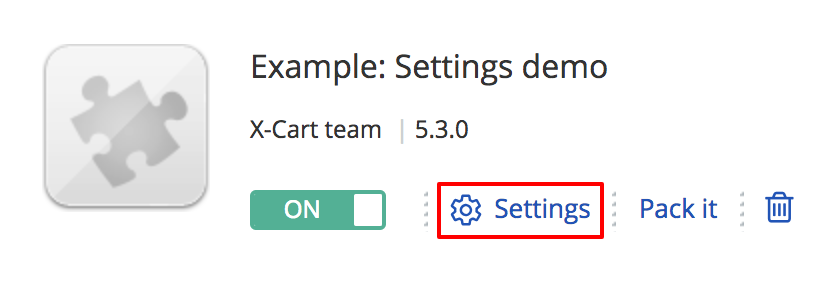
}This method tells X-Cart that it must display Settings link near the module in the 'Extensions' > 'Installed modules' section, e.g.:

Now we need to create a textarea option, so it could accept the HTML code. For that сreate the
install.yamlfile in the root folder of your module. We are creating it in theclasses/XLite/Module/XCExample/SettingsDemo/folder.Put the following content into
install.yamlfile:XLite\Model\Config:
- name: html_code
category: XCExample\SettingsDemo
type: textarea
orderby: 100
value: ''
widgetParameters: { trusted: 1 }
translations:
- code: en
option_name: Put your HTML code here
option_comment: I am comment to the option and I am here just for show that you can put some text into mewidgetParameters: { trusted: 1 }line defines that this textarea can accept any value, even JS code. If we do not specify this parameter, <script> tags would be stripped out.Once it is done, re-deploy the store and install the module. If you already have the module installed and activated, you need to push the changes of install.yaml file to the database.
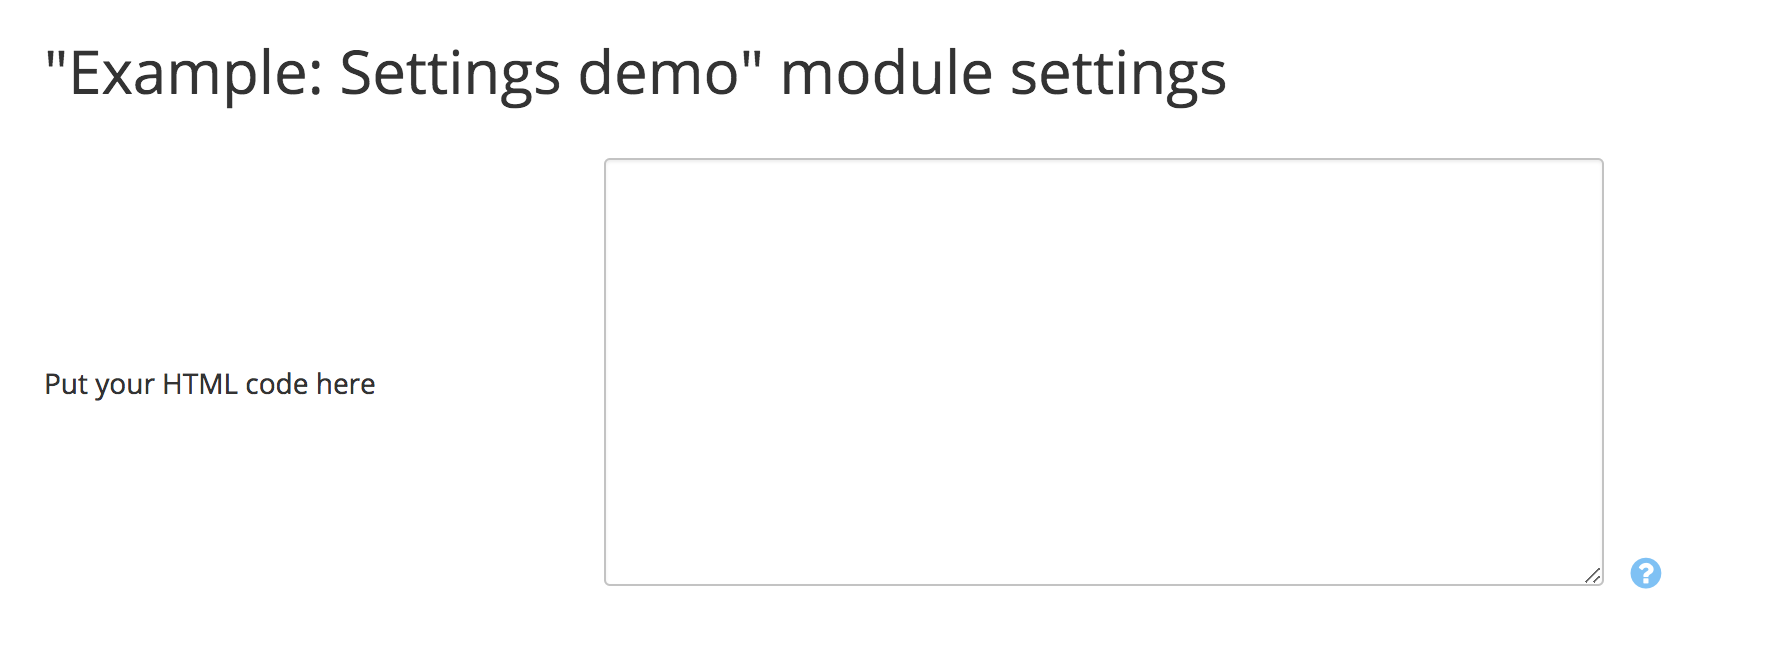
Go to the module settings and you will see the following page:

Now you can put your HTML code into this textarea field. X-Cart can save it, yet it does not know how to use it.
Using setting values in the code
Here is how we are going to display saved HTML code in the <head></head>:
Create the viewer class in your module. Since our developer ID is XCExample and module ID is SettingsDemo, we create the
classes/XLite/Module/XCExample/SettingsDemo/View/Header.phpfile. You do not need to create .php file with 'Header' name, it can be named whatever you like, e.g.Code.php,HTML.php, etc.Put the following content into your viewer class:
<?php

namespace XLite\Module\XCExample\SettingsDemo\View;

/**
 * @ListChild (list="head")
 */

class Header extends \XLite\View\AView
{
    protected function getDefaultTemplate()
    {
        return 'modules/XCExample/SettingsDemo/html_code.twig';
    }

    public function getHtmlCode()
    {
        return \XLite\Core\Config::getInstance()->XCExample->SettingsDemo->html_code;
    }
}If you are using your own developer and module IDs, you should change the namespace part of this PHP code to namespace
XLite\Module\<Your-Developer-ID>\<Your-Module-ID>\View;If you name your .php file somewhat different from 'Header', then your class should be named differently as well: class Header extends \XLite\View\AView.
As you can see, we are calling value of our option in the
getHtmlCode()method.Now we need to create the template that was defined in
getDefaultTemplate()method of the viewer class. Create theskins/customer/modules/XCExample/SettingsDemo/html_code.twigfile with the following content:{{ this.getHtmlCode()|raw }}This code simply calls
getHtmlCode()method of our viewer class and outputs its result without applying htmlentites() function to the result. If we omit 'raw' modifier, then all special symbols like <, >, etc will be converted to HTML entities and we will not have proper HTML code in the <head> section.Re-deploy the store and check the results. The HTML code specified in the setting field will be added to <head> section of all pages in store-front.
<script type="text/javascript">var some_var="value";</script>
<script type="text/javascript" src="http://link.to/some/javascript/file.js"></script>
and you cannot insert it into the web-page code using custom JS/CSS code fields from Theme Tweaker module. In this case, our module would work perfectly.
Module example
The pack of the module described above can be downloaded from here: XCExample-SettingsDemo-v5_3_0.tar
Different setting types
This section gives examples of how you can set up different setting types in your module settings.
Textarea
This is a type of setting we have used in our module already. It creates multi-line text form setting.

YAML code example:
- name: html_code
category: XCExample\SettingsDemo
type: textarea
orderby: 100
value: ''
translations:
  - code: en
    option_name: Put your HTML code here
    option_comment: I am comment to the option and I am here just for show that you can put some text into me
Here is the list of parameters you can specify for the setting:
- name defines the internal name of this option that will be used for accessing its value;
- category defines what module this option belongs to. Eventually you will access this option value based on its name and category. In this particular case, you will access this setting value as
\XLite\Core\Config::getInstance()->XCExample->SettingsDemo->html_code; - type defines that this option has textarea type;
- orderdby defines the position of this option on the module settings page. The greater the value, the lower it will be;
- value defines the default value of the setting – in this case, it is empty by default;
- translations section defines the name and comment of the setting in different languages;
- code parameter defines what language we are defining translations for;
- option_name defines the text seen on the left-hand side of the setting;
- option_comment defines the text seen upon hovering the ? icon near setting value.
These parameters are common for all setting types.
Text string
This is a type of setting that will be represented as a single-line text field.

YAML code:
- name: text_variable
category: XCExample\SettingsDemo
type: text
orderby: 300
value: 'Test value'
translations:
  - code: en
    option_name: I am text setting
    option_comment: Description of text setting
Parameters are the same as for Textarea setting.
Checkbox setting
This is a setting type that will be represented (obviously) by a checkbox.
YAML code:
- name: checkbox_variable
category: XCExample\SettingsDemo
type: checkbox
orderby: 400
value: N
translations:
  - code: en
    option_name: I am checkbox
    option_comment: Checkbox description
Parameters are the same as for Textarea option.
Separator
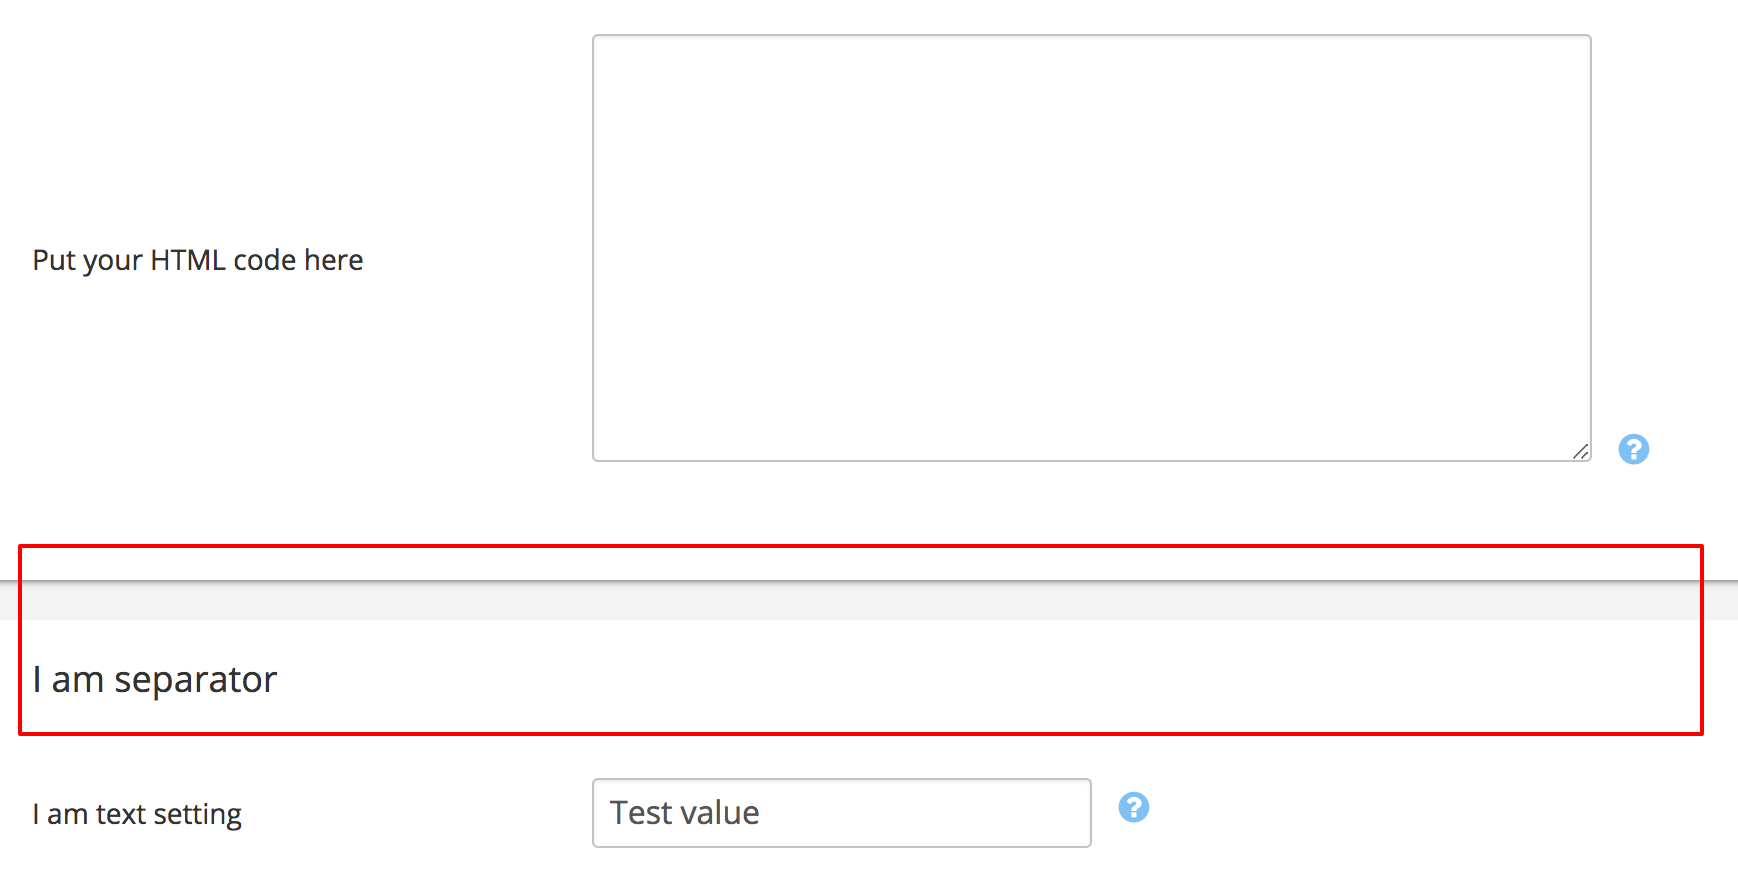
This is an element that is used to separate option groups on settings page.

YAML code:
- name: separator_delimiter
category: XCExample\SettingsDemo
type: separator
orderby: 200
translations:
  - code: en
    option_name: I am separator
Available parameters are only orderby and option_name out of common ones (see Textarea parameters).
Complex settings
Sometimes simple options (as shown above) are not enough for your task and you need to add select-box, multi-selector or field with JavaScript checking to your module's settings. In this case, you should use the approach described below.
For the sake of example, let us add a selectbox of timezone to our module.

YAML code:
- name: timezone_selectbox
category: XCExample\SettingsDemo
type: \XLite\View\FormField\Select\TimeZone
orderby: 500
translations:
  - code: en
    option_name: I am timezone selectbox
    option_comment: Description of timezone selectbox
Parameters are almost common with only difference: you specify the class name in the type field. This class defines the representation of how exactly your setting should behave.
Another example is Yes/No selector:
YAML code:
- name: yesno_selectbox
category: XCExample\SettingsDemo
type: \XLite\View\FormField\Select\YesNo
orderby: 600
value: N
translations:
  - code: en
    option_name: I am Yes-No selectbox
    option_comment: Description of Yes-No selectbox
Again, parameters are the same, but you specify the class name in the type field.
You can use all classes from the classes/XLite/View/FormField/ folder in your settings or create your own one.